
A step by step successful blog set up. This simple guide will walk you through the beginning stages of your blogging journey. Owning a WordPress.org site is the way you want to go in terms of ranking top on the list for SEO, growth, and flexibility. A WP managed site through a hosting plan will help you grow organically and do just about anything with your website over the years. A blog is just the icing on the cake. I mean, it is the key secret to growing your brand but it can easily be built into your business as well.
Guide To Starting A Blog
- Hosting Plan– you need to decide who you want to host your new website. I personally have been with GoDaddy for well over 12 years but you can also select BlueHost or Kinsta.
What plan should you go with? Good question.
When you’re first starting out you may only want to choose a basic plan. Over the years I have just went with a deluxe or medium grade plan because I need the space to build. Depending on what you are doing with your blog you may want a business plan. Each of these hosting plans will have a fairly decent explanation of each plan.
Choose a MANAGED WORDPRESS SITE – Pick a plan – Decide on a DOMAIN NAME
To keep things easy select your domain name straight from your hosting plan. If you already have a domain, you can redirect it to your new site. The host can also walk you through that.
If you want to change your domain completely follow this guide.
Now that the basic beginning stages are done and you’ve got your managed WordPress site set up, let’s talk about what you need in terms of making it PRO.
An SSL is standard technology for securing an internet connection by encrypting data sent between a website and a browser (or between two servers). You’ll want to order an SSL Certificate from your hosting plan. You can learn more here.
If you don’t get one straight away it can be added to your plan and inserted into your blog by using The Really Simple SSL Plugin.
How To Start A WordPress Blog
In this post I share more about the fundamentals of blogging because it can be quite foreign to many beginners.
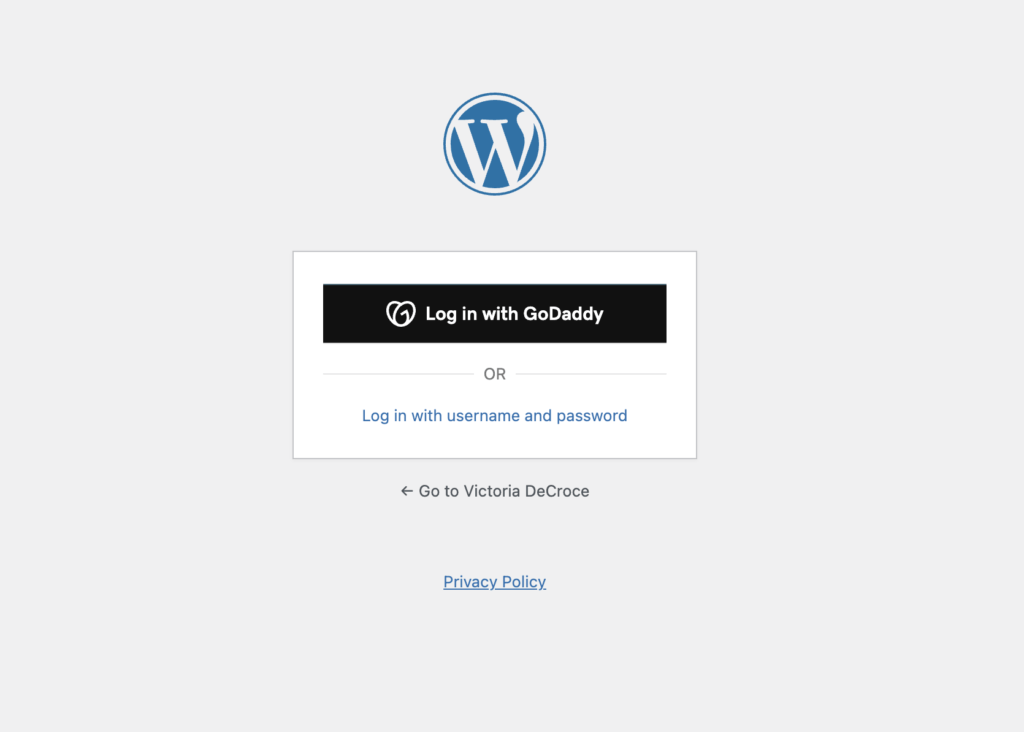
Your Login Should Look Something Like This:
To get to this page simply type in https://yourdomainname.com/wp-admin
One of my other websites is Victoria DeCroce, so I type in https://victoriadecroce.com/wp-admin
You can also log in from your hosting plan. I like this way better.
After you login you will see your dashboard:
Your URL is at the top- this is how you access your new blog. Everything on the left is where you UPDATE your posts, create pages, edit settings, and more! I usually IGNORE everything in the middle. I rarely use it. Yours will obviously look different but the layout is the same.
First things First:
- add the plugins you will need for an optimal blog performance– over on the left you will see PLUGINS. This is where you install the necessary ones for your blog to function properly. The basic ones you may want to install are JETPACK, YOAST SEO, REALLY SIMPLE SSL, ASKIMET. I keep these to a minimal because I don’t need my site over crowded with unnecessary things that slow it down.
You can always deactivate a plugin if you don’t want it anymore. It’s pretty self explanatory once you look at the screens.
Onto THEMES:
My pro experience says LESS IS MORE! almost always use a clean theme for your blogs. You can head to APPEARANCE on your dashboard and click on THEMES. Here you will be able to ADD NEW ones and another PRO TIP: stay far away from internet downloads and only use WP themes or purchased from a reputable creator. Free downloads can mess up your site in a second.
After you install some new themes and choose one you like, simply customize it. The theme you like will need to be activated after installed and those are pretty common sense types of things you’ll see upon installing them. WP walks you right through it so to speak. Your current theme will always be first as you click on Appearance, Themes, Then The Theme Will Have The Option of CUSTOMIZING. Click on CUSTOMIZE to update your blog to look appropriately.
Once you click on that you will see your customization screen pop up!
Here is where your blog becomes pretty! On the left are the options to customize and on the right is your preview. You’ll want to go through each option on the left to EDIT your theme.
I tend to stick with minimal themes because too involved gets confusing (even for me). If you chose a theme that has too many editing options, maybe think about choosing another option.
If you get confused and don’t know how to edit (this is where the practicing comes in) just keep the original settings with the obvious changing of your heading, menus, widgets, etc.
Be sure to click Published on the top or your edits won’t be saved. Always preview your blog before going online.
That’s really it for the SETTING UP YOUR BLOG PROCESS. I cannot wait to share more. This section of Coffee Addict Mama is going to help so many bloggers that want to be successful and as always, just ask if you need further assistance.
More Boss Blogger Posts
How To Master Blogging From The Start
Why Every Business Needs A Blog
How To Write A Blog Post In One Hour Or Less

Leave a Reply