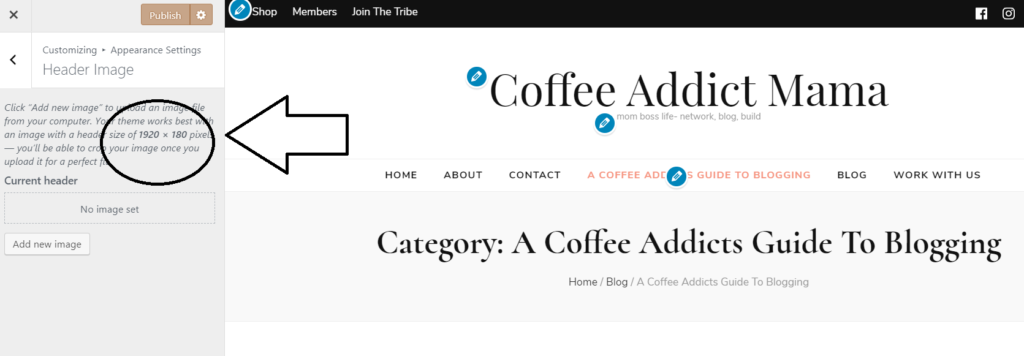
In today’s tutorial we are going to show you how to create a blog header using Canva. Typically your blogs THEME will have a customize area where it will display what size your blog header should be. We use WordPress. If you do as well, simply go to APPEARANCE – CUSTOMIZE – APPEARANCE SETTINGS – HEADER.
This may vary from theme to theme but just look for the header image area to see if yours tells you a specific size.
Sign into your Canva account and click on CREATE A DESIGN (upper left side). This is where you can insert your exact measurements. Or, choose the blog banner option. With specific themes you’ll have to crop the image and sometimes they all don’t work well with MOBILE devices.
It can get pretty irritating if it doesn’t come out right. Mine happens to be 1920 X 180. I may have to be smarter than the software and think about my mobile viewers when I am creating a stunning header.
Your blog header says a lot about you! If you notice, many bloggers use a simple text font because it’s cleaner. For those of you that enjoy design, this is for you.
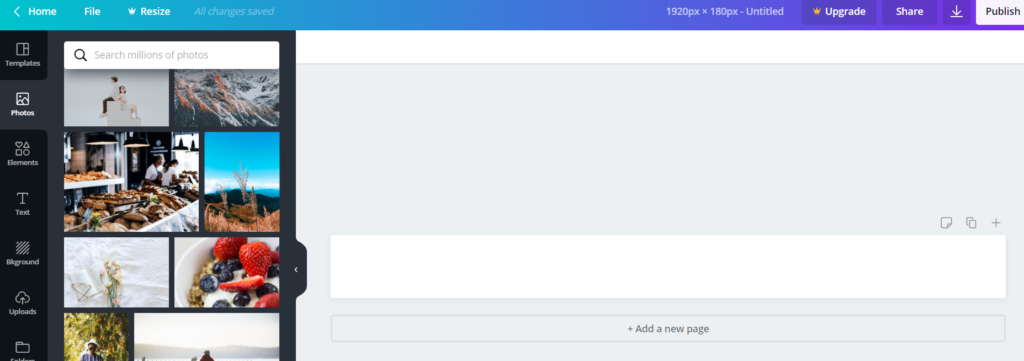
As you can see I have created a design with the measurements my theme header suggested. Now over on the left we can add images, words, etc. I prefer a clean look, so I will create a simple classic header for this tutorial. You can always play with it to your liking. I always start with photos to see if there’s any stock images I can use for my website.
My theme doesn’t allow for a big enough photo but I will show you examples just so you can see how to use this free editing software.
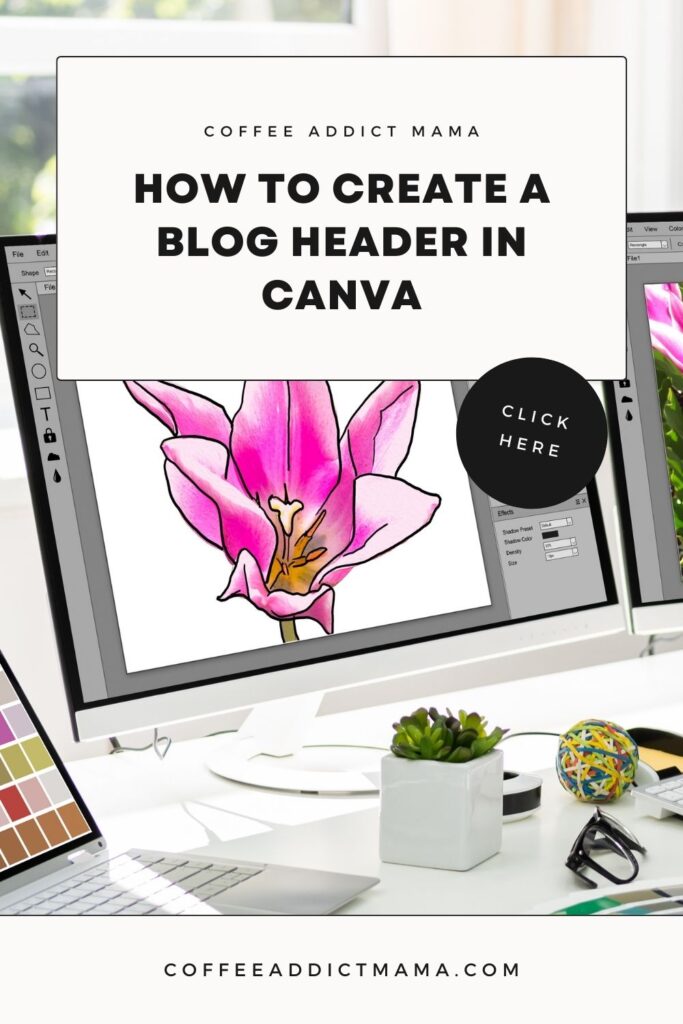
How To Create A Stunning Blog Header For Free
I searched coffee related images because that’s the theme of my website. You can scroll through the featured images and insert how many ever pics you’d like featured on your header. I’m only using one. In order to get your picture to where you like it, you’ll have to CLICK ON THE IMAGE – CLICK CROP – AND MOVE TO WHERE YOU LIKE IT.
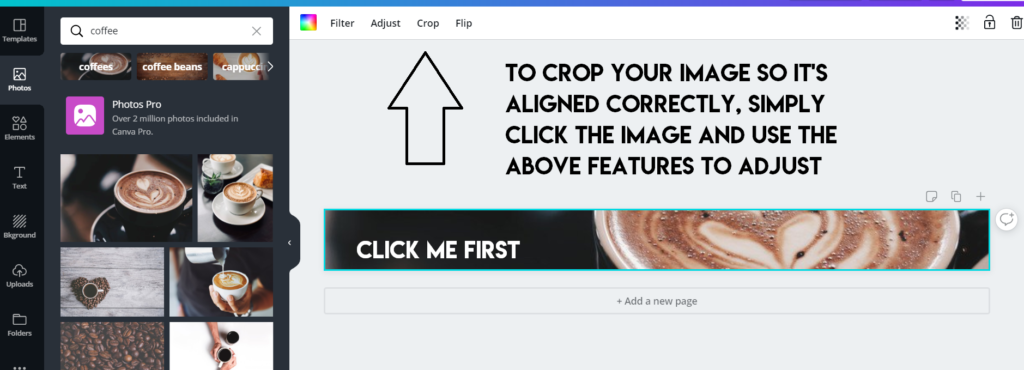
After you get the photos inserted, you can adjust the color by using the filter tab, change the transparency and more. The transparency tab is in the upper right next to the lock button.
If you want to get fancy, you can add ELEMENTS – GRID – ADJUST THE GRID COLOR TO WHITE AND HAVE A BOX FOR YOUR BLOG NAME.
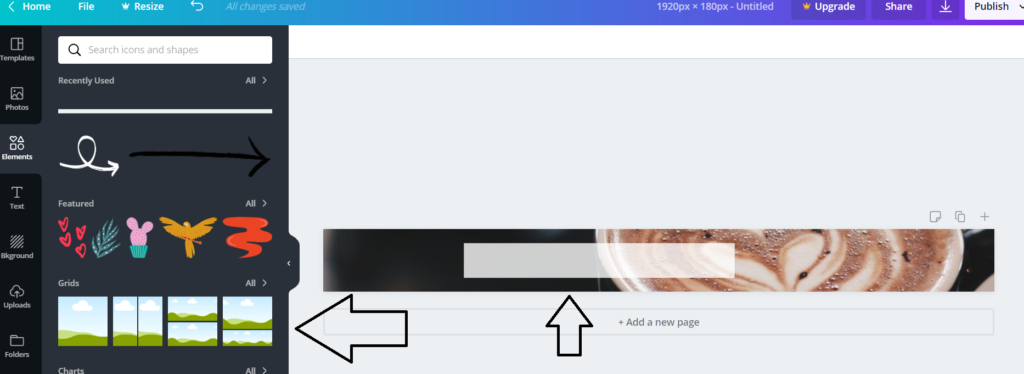
I ended up adjusting the transparency level so the grid box was not completely white. That way I can write my blog name in there and it will look nicer. You can scroll through the elements and add whatever you like. It’s a fun learning experience. Don’t get overwhelmed, take a break if you need. Now I’m going to add my text and make some final adjustments with the color of the pic, etc. Using the text tab over on the left, I will insert my name and if you need some help understanding, just skim through this tutorial.
Creating a header with an image as the background is sometimes not the way to go. I got halfway through this tutorial and thought, no! I just don’t like it with one photo. Sometimes you just have to play around.
So moving forward with designs:
Choose from a
- Color background
- Photo background
- White Background
- Transparent
Sometimes when you’re first getting started it may not look right, try again. Overall, you at least understand how to start creating a blog/shop header. I went back and removed the photo I added above. You can always UNDO your design by HITTING THE UNDO ARROW NEXT TO RESIZE. Or just going HOME + starting over.
Now that my design is back to a PLAIN WHITE BACKGROUND, I can actually add a header name + some elements such as lemons. To do this – just use your header size to create your custom design ( as walked through above ), typically the background is already white, ADD TEXT by choosing your favorite fonts over to the left under TEXT ( you can change the size and color by highlighting the word and navigating your top bar for editing features, and some ELEMENTS of choice. I searched lemons and a ton of free graphics showed up. Simply drag them to the area you’d like, and voila.
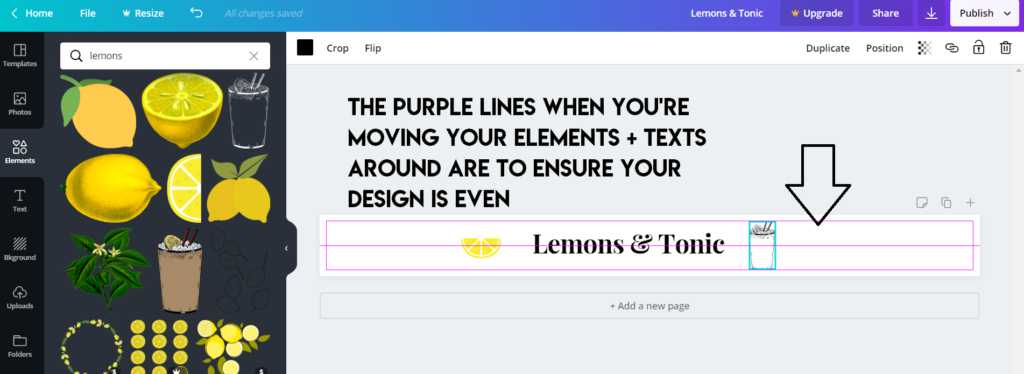
Basically when moving your text, pics or elements around, you will see a purple line indicating that everything is centered and aligned properly. Sometimes I have to ‘eye ball’ and not use the purple lines because it just depends on the design. Notice below how I changed the angle of the cup – to do this just click on the pic and rotate with the little button with arrows in it ( just below your pic ). Add a tag line and you now have a CLEAN blog header, designed for free.

If you are still confused using Canva, we have a tutorial with a video in it that will explain how to do the TEXT part under recent blog posts. It really just takes some time to get used to it especially if you’ve never worked on anything like this before. YOU WILL CREATE!!! Don’t give up and comment if you need us to walk through anything with you!
Some more examples || step by step:
Assuming your themes header size is much different than mine, I went back to CREATE DESIGN, applied 1920 X 500 as my measurements, added a photo I liked by dragging it straight to the middle section of my layout, then added some text. At times you get lucky creating when the pic just slides right in without having to adjust. This one below was awesome + fast.
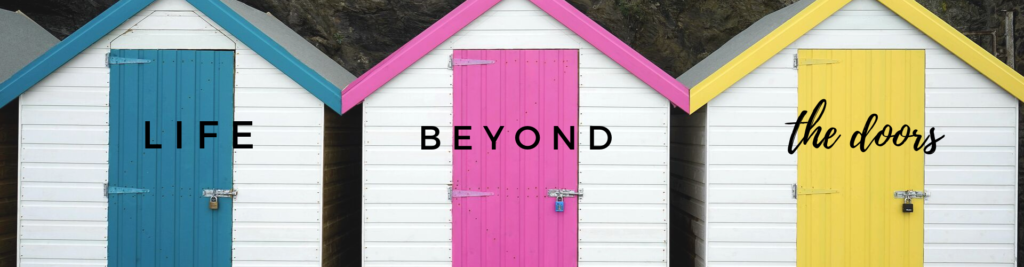
Tulsi from Life Beyond The Doors is one of our community members. Head over to her blog and some love: her blog and IG.
Obviously these are just some basic samples of blog headers and banners using Canva. We will update the post with a video tutorial.
Until next time, more coffee please.
Leave a Reply